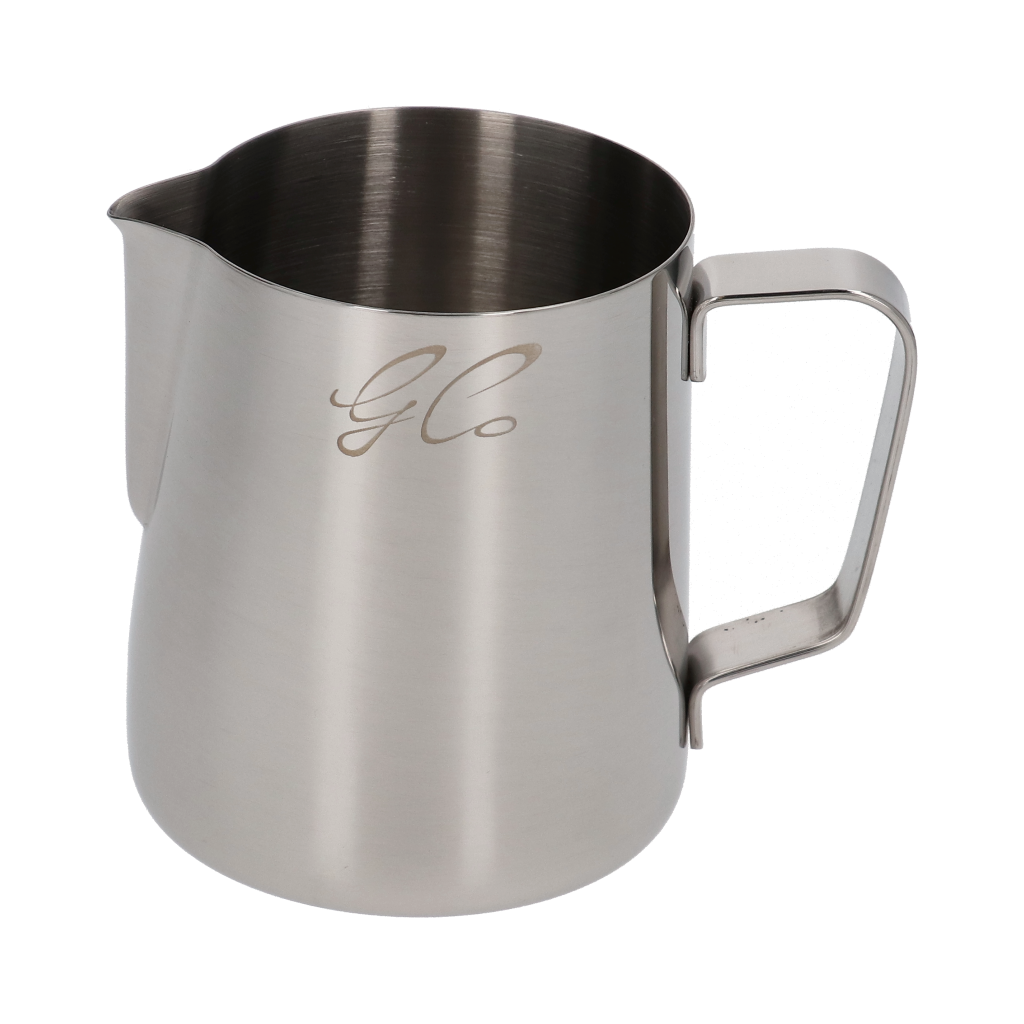
Latte Art Pro Milk Jug
by Gianni Cocco
25.21 €

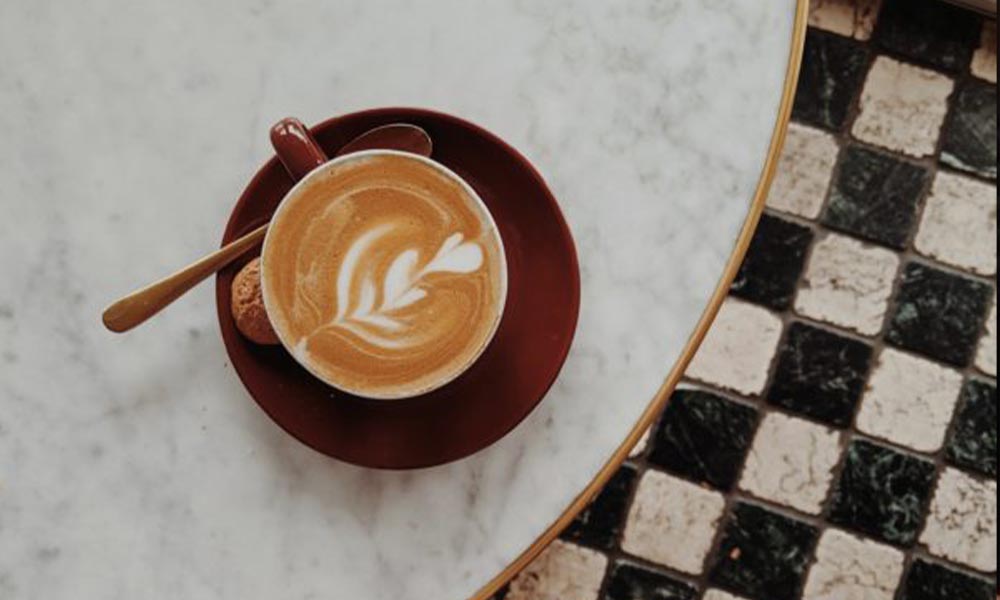
The Latte Art isn’t just a simple technique to make cappuccinos more Instagram-friendly. As the name suggests, it’s a true art form that involves creating drawings and patterns on the surface of a cappuccino or a macchiato espresso. Today, it has become a recognisable symbol of high-quality coffee shops, as well as an indicator of the barista’s technical skill: in order to create good Latte Art, you need a well-extracted espresso, perfectly frothed milk and flawless control over your movements.
Legend has it that the creator of Latte Art was a barista from Verona named Pierangelo Merlo. But we all know there’s a difference between having an idea and making it a global phenomenon. For that, we must thank David Schomer, a barista from Seattle, who made the hearts he poured on his cappuccinos in the mid-1980s a distinctive hallmark. Fast forward a few decades, and we meet Luigi Lupi, who began discussing the technique professionally, eventually contributing to the spread of specialised training courses that turned passionate amateurs into true professionals.
Although it’s believed that the first experiments with milk foam decoration were born in Italy — thanks in particular to Verona-based barista Pierangelo Merlo, who was already producing basic designs in the 1980s — there’s no doubt that the global spread of Latte Art was driven by David Schomer, barista and founder of Espresso Vivace in Seattle. In 1988, Schomer introduced the heart as the signature touch on the cappuccinos served in his café. A few years later, in 1994, he saw a photo of an Italian cappuccino with a rosetta design and was so captivated by it that he spent six months trying to replicate and refine the technique. The result was a more sophisticated and systematic Latte Art, especially popular within the American specialty coffee scene. In Italy, the first promoter of Latte Art in the educational sector was Luigi Lupi, who from the early 2000s began teaching the discipline in coffee schools, also producing video materials and courses for baristas eager to enhance their skills.
Whether cow’s milk or plant-based alternatives, choosing the best milk for a good cappuccino can become quite a challenge. But don’t worry: we recommend high-quality, fresh whole or semi-skimmed milk for outstanding results. If you’d rather stick to your favourite milk, that’s fine too — even the fat content contributes to the cream’s persistence. The quality of the milk is a fundamental element for achieving a smooth, glossy and even foam. The general advice is to use fresh whole or semi-skimmed cow’s milk, as the fat content (about 3–3.5%) and protein content (at least 3%) are crucial for the stability of the microfoam and the vibrancy of the design. As for plant-based drinks, it’s best to choose those formulated specifically for Latte Art, often labelled as Barista Edition. These versions have a protein and fat structure similar to cow’s milk, delivering comparable results in terms of texture and cup performance. To achieve a high-quality beverage, choosing the right coffee blend is also essential.
First, you’ll need a milk jug, an essential tool for frothing the milk. The foam’s consistency is key to creating proper designs, but to start off, we suggest making it thick and compact, ideal for experimenting with simple shapes like hearts or stars. If you want to “make things easier”, get yourself a jug with a “precision spout”: it’ll make your job smoother and your art more accurate. The ideal milk temperature is around 60°C — only then will you get a creamy and even froth.
Give the jug a gentle swirl to make the milk shiny and smooth. The milk foam should look like white paint — smooth and bubble-free.
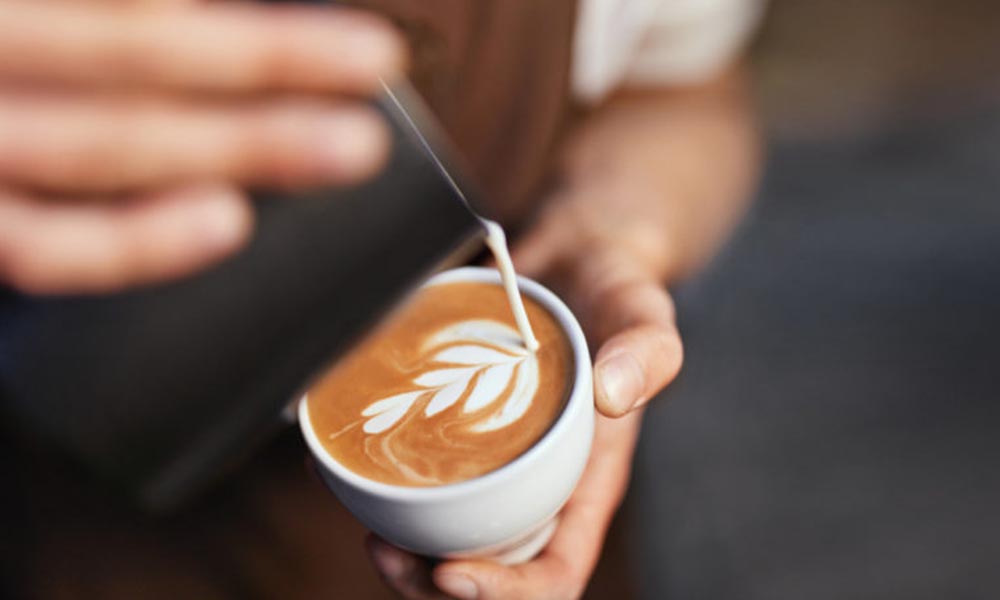
Slightly tilt the cup and begin pouring the milk from about 5–10 cm above, right in the centre. In this first step, the goal is to let the milk sink under the crema of the espresso, without creating any design yet.
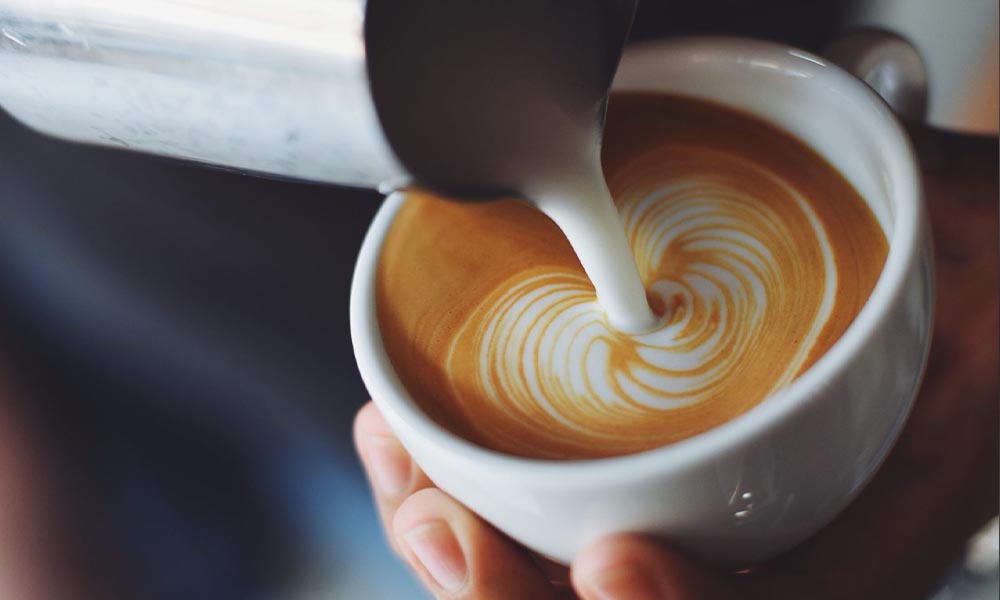
Once the cup is halfway full, lower the jug so it’s almost touching the surface of the cappuccino. This is when the milk starts to “float” on the crema, and the design begins to appear.
A good pour is continuous, neither too fast nor too slow. Controlling the amount of milk and the direction of the pour is key to producing sharp, symmetrical patterns. The keywords of Latte Art: experimentation, proper tools, and manual skill.
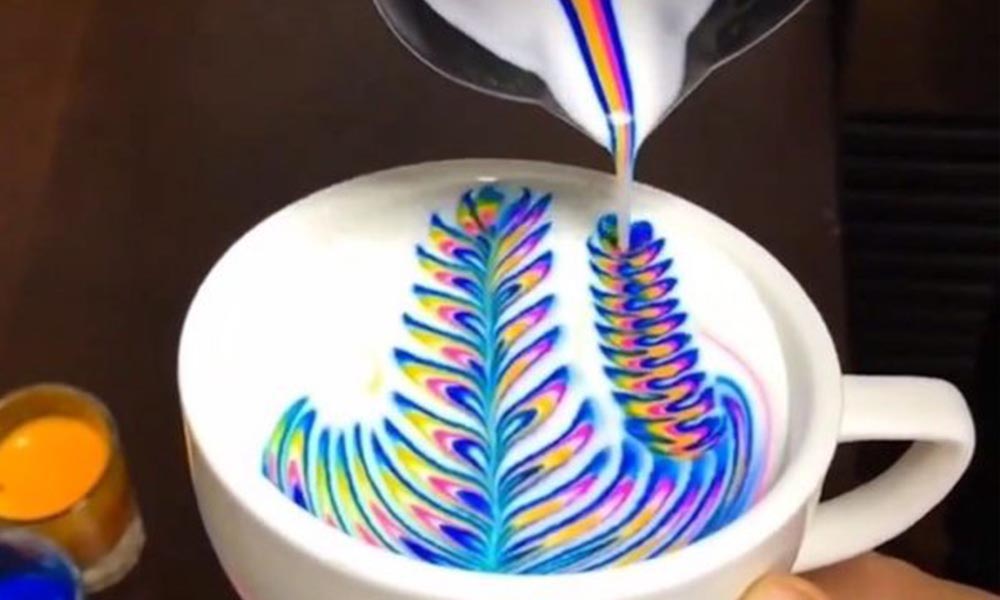
The steps we’ve shown you above are part of the basic method known as free pouring, where your only tool is the milk jug. If you want to try more intricate designs, you’ll need specific tools like etching needles and pens. This approach is called etching. Think of your cappuccino as a blank canvas where you can unleash your creativity (and skill). The final technique you might have heard of is 3D cappuccino art, where the figures appear to be popping out of the cup. The most popular? Definitely cats — just take a quick scroll online, they’re everywhere. But that, as they say, is another story.